It takes ages; there's not just the horse itself but the tack and reins and decorations and sometimes armour and barding, and theres lots of it - the average horse is several times bigger than the daft as a brush human sitting on top. And then there's the human to paint as well! All of this adds up to taking a long time, with a single figure taking many more precious modelling and painting seconds than a lowly foot trooper thingy.
But.
They look very impressive when done (if you don't muck up the paint job), and add an entirely new element of tactics to a game. And I own 24 heavy horse with a plate-armoured man-at-arms on the back of each one, and I can't let that foolish investment go to waste, so I'd better have a bash at it.
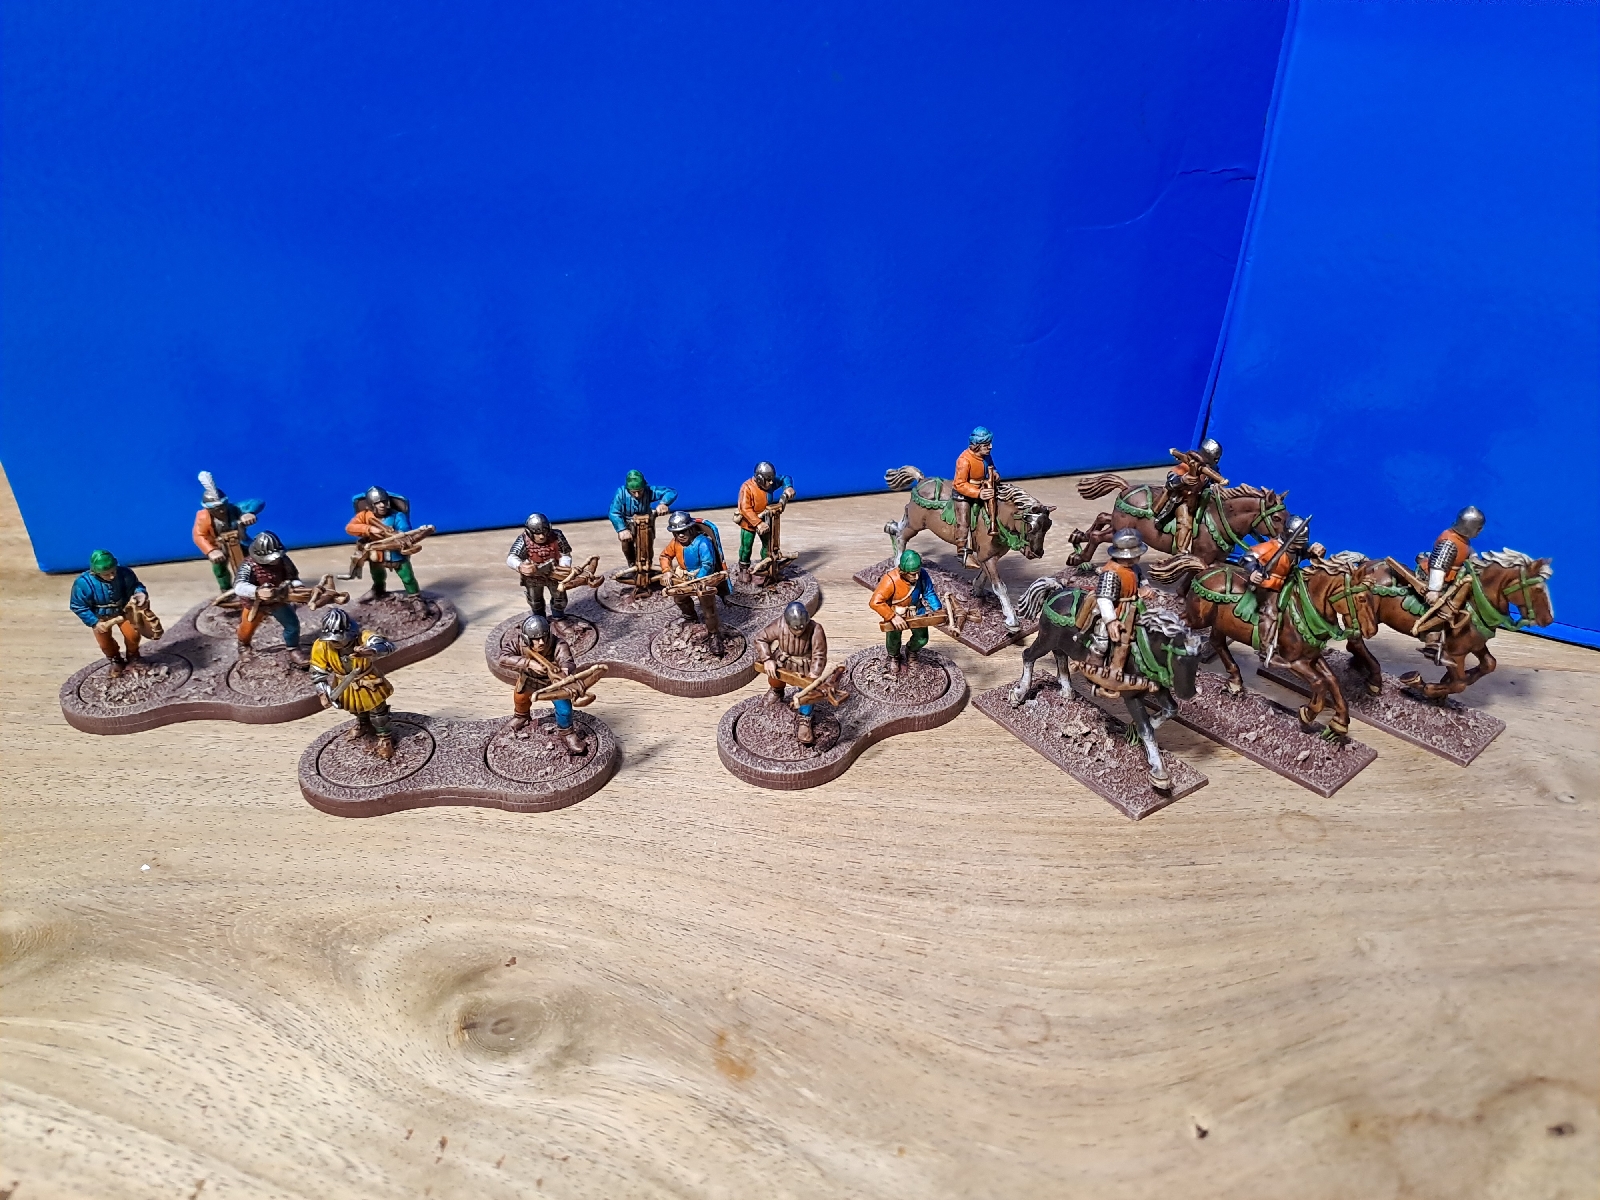
My 24 heavy horse are split between three units (troops? Groups? Bunches?), with two bunches armed with small axes and maces and such like, and the third being armed with lances. I suspect mounted men at arms were rare in the wars of the roses, especially ones with lances, but they looked interesting, and these 8 models were the bunch I decided to try first.
I have already had a bash at horses recently with 5 light horsemen done as a trial, and carried the same techniques and knowledge picked up over to these.
And it took...ages! I used the army painter speed paint for most of the horses themselves, using 2 coats to deepen the colour over my now usual brown primer and white airbrush spray. I did the reins etc and riders main metal colours before the horse in the hope of speeding things up, amd overall I think that worked. A dry brush of light grey followed by a white over areas of the horses to give a variety of colour (legs, noses). In some cases I used a sandy colour for the mane and tail to blend in better with the brown main coat.
Lances - light grey, then white all over, followed by light blue hoops. My initial attempts to make a stencil for this failed and I had to resort to drawing on the lines then hand painting between them. Overall happy with how that came out. I'm not the greatest painter and haven't a very steady hand so I'm after an effect rather than perfection.
A wash of strong tone over the bits that needed it followed by some highlights on the bright colours to make it pop and the bunch is done. I've not got as far as flags or flock yet, that's starting to worry me as much as horses, and I think I might go back to infantry for a bit!